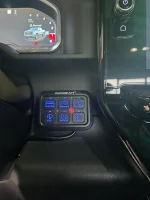
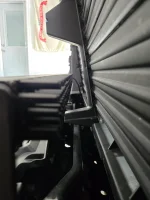
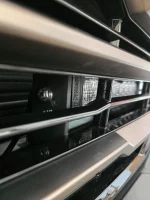
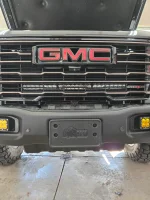
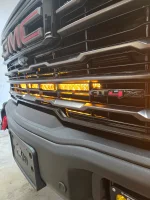
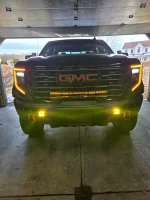
When you were running the RC lights in the beginning, did you have to splice their wiring harness to the Auxbeam set up? Or use a different harness?Nope just the wiring package that Baja Design offers, then wired it right up to my AuxBeam switch panel.
I'm about to wire up some of those and looking at ordering the Auxbeam 6 gang as well, so figured i'd ask.