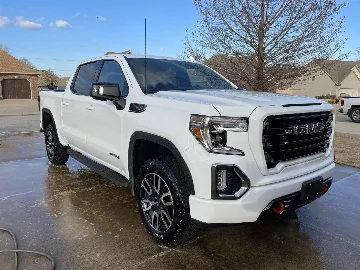
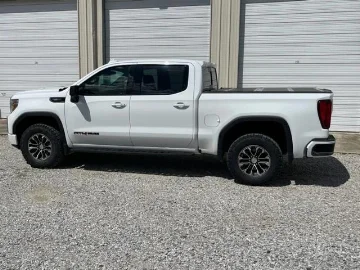
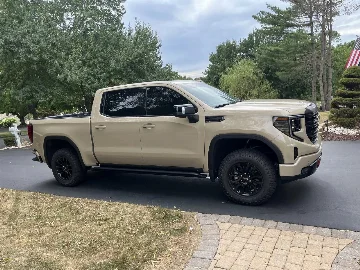
What did you do to your AT4 today?

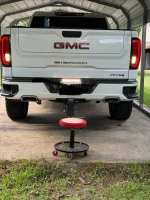
I applied diesel cologne today, but changing my fuel filter. The filter looked pretty good for changing at 10k miles. This is the 2nd filter change.
I've been doing mine every other oil change (~10k miles). Probably overkill, but I figure it's a small price to pay. Usually mine are a little dirtier than new, but nothing terrible. And yeah, I can't do anything under a vehicle without bathing in it either 🤣
 

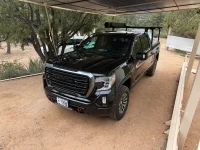
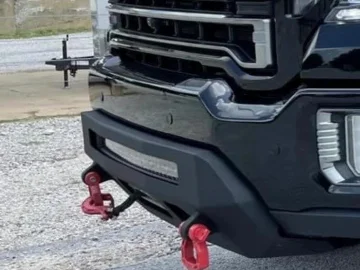
Comeup winch installed
IMG_6278.webp
 

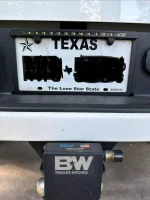
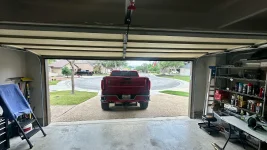
Installed the VLeds reverse license plate light bar and billet LP frame. Easy, clean setup and quality built product. Works as it should providing massive lighting when vehicle is placed into reverse.
 

Attachments

  • IMG_2952.webp
    IMG_2952.webp
    139.8 KB · Views: 43
  • IMG_2953.webp
    IMG_2953.webp
    367.7 KB · Views: 39
Installed the Boost Auto amber DRL/parking light harnesses. Simple install, and happy with the results. (Excuse the photos, the sun was in the worst possible position and I was trying to shield the glare from the hood.)

Comparison shot:
IMG_9532.webp
Full install:
IMG_9539.webp


I’ll update later with some low-light pictures.

This project did come with an added, unexpected bonus. The harness comes with two exposed wires, which allow you to select between having constant amber, or amber in the day which changes to white at night when the headlights are activated.

Screenshot from the install video:
IMG_9540.webp


In order to activate the day/night function, you plug the two wires together. Based on the information in their video, it appears that the blue wire is feeding power to the white wire. This may mean that the blue wire is headlight activated. I know that in some other threads, a few of us were searching for a power source which was headlight activated, and were having difficulties finding that in the cab. It appears that if you have this harness, you could draw power from the blue wire to power any accessory that you might want. It might be a bit of a run pulling wire from the headlight harness into the cab, but it’s an option.

I may get out and play around with this tomorrow to see if I can power my cupholder lighting from this, which I always wanted to be headlight activated. Just a thought for those of you who were looking for that capability.

Boost Auto install video if you want more detail on the wiring: (Pertinent part starts at about 1:48)

 

Last edited:
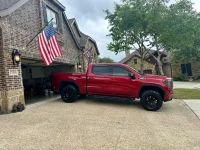
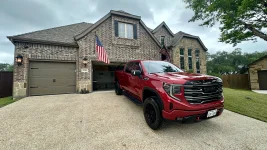
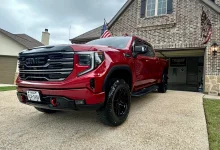
Installed today. Just what I wanted. Doesn’t look like to much but definitely fits the vehicle better. Of course it looks better in person but always good to share pics for people thinking about doing spacers. 1.5 bora spacers. 275/70-18 ridge grapplers (close to full tread), factory rims, ready lift 2.0 sst level kit, no rub.
IMG_0041.webp
IMG_0043.webp
IMG_0044.webp
IMG_0045.webp
 

Well, more of “what have I done the last several days”? Rock hounding in southern Utah and making a mess. So many trails to go get lost on and that’s not a bad thing. OnX was so helpful.
Going to need lots of TLC when we get back.
IMG_8402.webp
IMG_8514.webp
IMG_8515.webp
IMG_8484.webp
IMG_8481.webp
IMG_8423.webp
IMG_8420.webp
IMG_8521.webp
IMG_8519.webp
 

At the midpoint of our travels a fresh wash and a “painful” fill up. Pump stopped at $100 as that is what AMEX caps out at per transaction. Had to do a second fill of another $22. $6/gallon in AZ


IMG_8542.webp
IMG_8541.webp
IMG_8540.webp
 

Well, more of “what have I done the last several days”? Rock hounding in southern Utah and making a mess. So many trails to go get lost on and that’s not a bad thing. OnX was so helpful.
Going to need lots of TLC when we get back.
View attachment 37003View attachment 37004View attachment 37005View attachment 37006View attachment 37007View attachment 37008View attachment 37009View attachment 37010View attachment 37011
Sounds like a really fun time! What did that scratching on both sides(if it's actually scratches, are they deep)? Narrower trails than you've shared in those pics?
 

Sounds like a really fun time! What did that scratching on both sides(if it's actually scratches, are they deep)? Narrower trails than you've shared in those pics?
We found some very tight places that looked like mainly for side by sides. The ceramic coating minimized the “damage”. Took it to the car wash and they aren’t too bad. An afternoon of truck therapy and they will buff out. Desert scrub is pretty soft and doesn’t do much damage. The dust makes it look much worse.
 

Attachments

  • IMG_8542.webp
    IMG_8542.webp
    477.1 KB · Views: 13
We found some very tight places that looked like mainly for side by sides. The ceramic coating minimized the “damage”. Took it to the car wash and they aren’t too bad. An afternoon of truck therapy and they will buff out. Desert scrub is pretty soft and doesn’t do much damage. The dust makes it look much worse.
Well that's good! No body shop👍
 

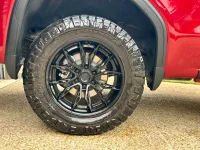
In the front Bilstein 6112 set to the highest notch and 5160s on the rear, and then ready lift UCAs. These raised the front about 1 1/2".
Wheels are :
BRINK B204 INSURGENT
Size:
20x9 Finish: SMOKE MACHINED TITANIUM Offset: 0
Nitto Ridge Grappler
Size:
285/60/20

View attachment 28823

I LOVE the look, my AT4 is Thunderstorm as well. I love the way this looks. Short of the UCA and shocks, did you lift it any and is there any rub?
 

Back
Top