What's new

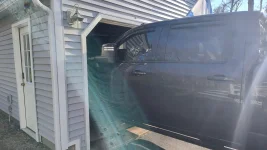
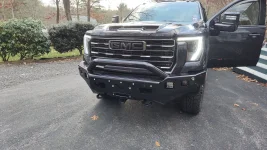
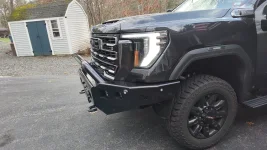
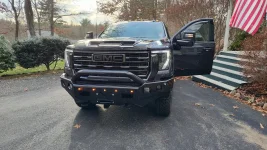
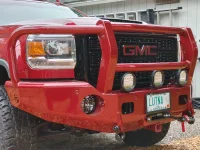
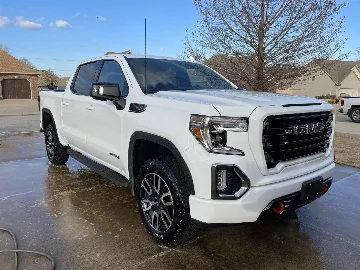
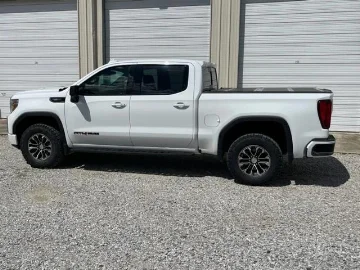
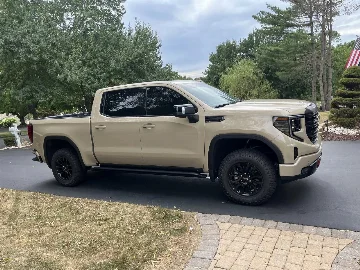
New Titanium Rush AT4 2500

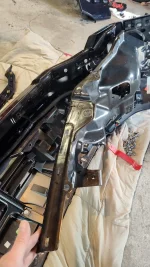
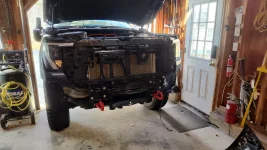
The install is supper easy.. the truck brackets fit in and then there are 6 bolts and 2 perfectly flat mating surfaces for the bumper.... Its the removal of the grill, OEM bumper then the inner bumper liner to access the wiring harness. I'm sure I can do it in 5-6 hrs without breaking a sweat... Just don't want to freeze my hands doing it. I have a wood stove in the garage. I have tucked the nose in and then used old comforters to make a wind break around the truck and under it... We'll see...
 

The install is supper easy.. the truck brackets fit in and then there are 6 bolts and 2 perfectly flat mating surfaces for the bumper.... Its the removal of the grill, OEM bumper then the inner bumper liner to access the wiring harness. I'm sure I can do it in 5-6 hrs without breaking a sweat... Just don't want to freeze my hands doing it. I have a wood stove in the garage. I have tucked the nose in and then used old comforters to make a wind break around the truck and under it... We'll see...
I'm going to need a step by step write-up with detailed pictures posted on this forum. Preferably in .pdf format. 🤣
 

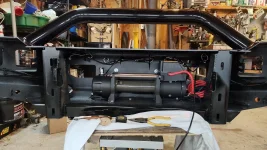
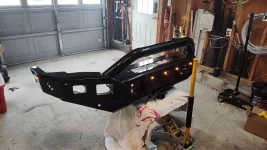
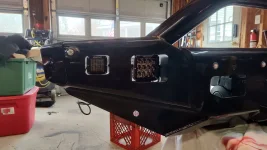
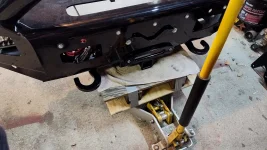
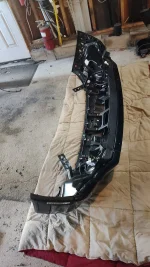
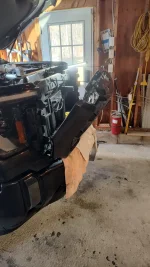
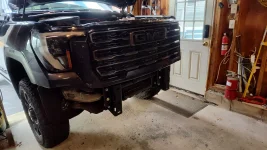
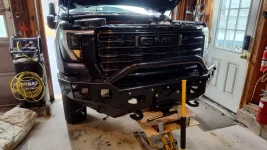
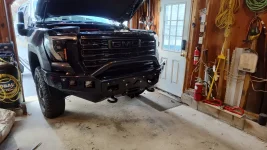
Well, the weather gods are being slightly kind to us this week... Suppose to be almost 60* Wednesday. But its suppose to pour as well... I can get the front of the truck in the garage, so I prepped the bumper for install today...

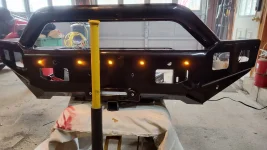
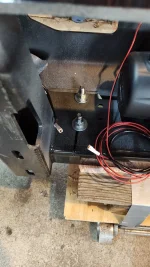
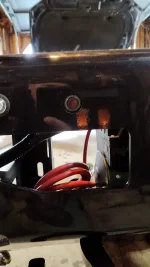
Wired up the marker lights....
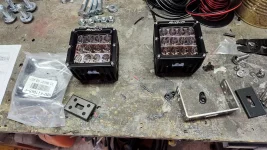
Installed the brackets and the driving lights and fog lights. Driving lights will get their own switch from the upfitter switches. Fog lights will be wired into the OEM fog circuit when I remove the OEM sensor and light harness.
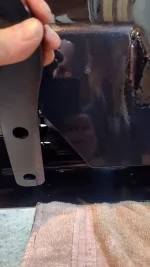
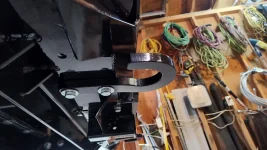
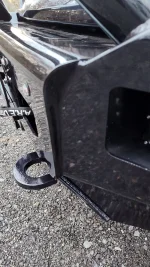
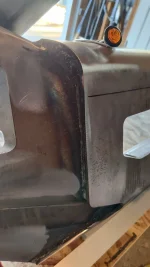
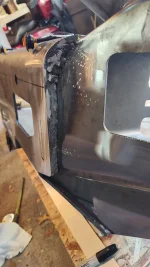
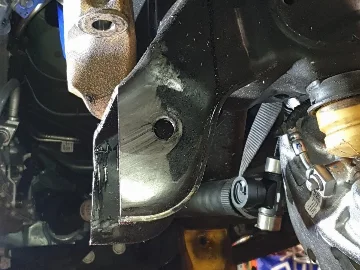
They F'd up and forgot to drill the holes (or misdrilled them, not sure which) for the tow hooks... Frustrating that I had to drill thru a new paint job...
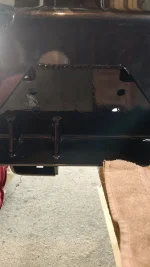
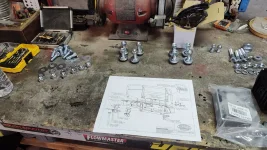
Laid out the hardware for the install...

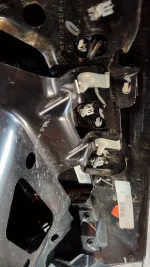
On Wednesday, I'll need to pull the OEM bumper and the parking sensors and harness and install them in this bumper and then she'll bolt into place...
 

Attachments

  • IMG_20241209_111058827.webp
    IMG_20241209_111058827.webp
    235.7 KB · Views: 91
  • IMG_20241209_102211527.webp
    IMG_20241209_102211527.webp
    230.9 KB · Views: 90
  • IMG_20241209_102218103_HDR.webp
    IMG_20241209_102218103_HDR.webp
    144.4 KB · Views: 87
  • IMG_20241209_111038449.webp
    IMG_20241209_111038449.webp
    370.4 KB · Views: 89
  • IMG_20241209_114916001_HDR.webp
    IMG_20241209_114916001_HDR.webp
    121.6 KB · Views: 87
  • IMG_20241209_124200039.webp
    IMG_20241209_124200039.webp
    120.5 KB · Views: 86
  • IMG_20241209_124207958_HDR.webp
    IMG_20241209_124207958_HDR.webp
    104.5 KB · Views: 78
  • IMG_20241209_131338599.webp
    IMG_20241209_131338599.webp
    196.2 KB · Views: 81
  • IMG_20241209_131349765.webp
    IMG_20241209_131349765.webp
    245.6 KB · Views: 91
  • IMG_20241209_111043826.webp
    IMG_20241209_111043826.webp
    256 KB · Views: 93
Well, the weather gods are being slightly kind to us this week... Suppose to be almost 60* Wednesday. But its suppose to pour as well... I can get the front of the truck in the garage, so I prepped the bumper for install today...

Wired up the marker lights....
Installed the brackets and the driving lights and fog lights. Driving lights will get their own switch from the upfitter switches. Fog lights will be wired into the OEM fog circuit when I remove the OEM sensor and light harness.
They F'd up and forgot to drill the holes (or misdrilled them, not sure which) for the tow hooks... Frustrating that I had to drill thru a new paint job...
Laid out the hardware for the install...

On Wednesday, I'll need to pull the OEM bumper and the parking sensors and harness and install them in this bumper and then she'll bolt into place...
Great progress! (y)
 

Well, the weather gods are being slightly kind to us this week... Suppose to be almost 60* Wednesday. But its suppose to pour as well... I can get the front of the truck in the garage, so I prepped the bumper for install today...

Wired up the marker lights....
Installed the brackets and the driving lights and fog lights. Driving lights will get their own switch from the upfitter switches. Fog lights will be wired into the OEM fog circuit when I remove the OEM sensor and light harness.
They F'd up and forgot to drill the holes (or misdrilled them, not sure which) for the tow hooks... Frustrating that I had to drill thru a new paint job...
Laid out the hardware for the install...

On Wednesday, I'll need to pull the OEM bumper and the parking sensors and harness and install them in this bumper and then she'll bolt into place...

I was under the impression that this bumper used the oem tow hooks. Those look like tow hooks from an obs?
 

I was under the impression that this bumper used the oem tow hooks. Those look like tow hooks from an obs?
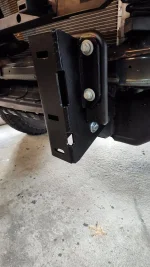
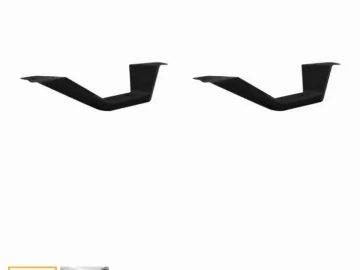
No they do not use the OEM tow hooks. The mount for the bumper and the frame occupy the space for the OEM tow hooks. Previous models had welded tabs for shackles which apparently they have deleted on the current model , looking at the trail ready website.

Previous bumpers I have purchased from Buckstop, generally has replacement tow hooks as well. My 2005 used oem tow eyes
 

Last edited:
No they do not use the OEM tow hooks. The mount for the bumper and the frame occupy the space for the OEM tow hooks. Previous models had welded tabs for shackles which apparently they have deleted on the current model , looking at the trail ready website.

Previous bumpers I have purchased from Buckstop, generally has replacement tow hooks as well. My 2005 used oem tow eyes
What tow hooks do you have mounted on the loose bumper now?

ETA... I figured it out by reading the blueprint in you picture. I see Buckstop includes new hooks.

So, since you had to modify the bolt holes, a person could re-use the oem hooks, by modifying, if'n the hooks doesn't hang down too far.
 

Last edited:
What tow hooks do you have mounted on the loose bumper now?

ETA... I figured it out by reading the blueprint in you picture. I see Buckstop includes new hooks.

So, since you had to modify the bolt holes, a person could re-use the oem hooks, by modifying, if'n the hooks doesn't hang down too far.
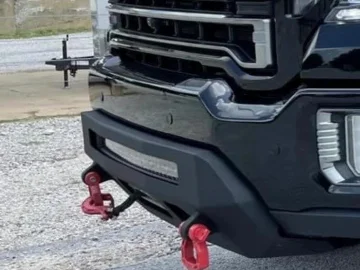
Here are the supplied tow hooks. With out serious mods the OEM really cant be used.. Cutting and welding would be required
 

Attachments

  • bumper install (14).webp
    bumper install (14).webp
    161.4 KB · Views: 60
Bumper install, Part one

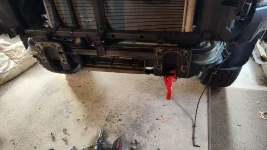
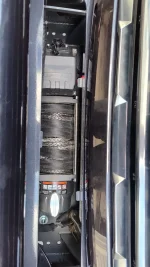
Went pretty smoothly, on a few minor hic ups... took about 4 hours and that includes wiring the winch, driving lights, fog lights, clearance light, and a few other mods....

There is a good video for the grill and bumper removal...
Don't need to remove the passenger cover plate....

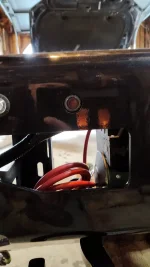
The inside OEM cover plate had theses 2 bolts on the outboard side I couldn't release but it was easy to pull back to access the harness and parking sensors.

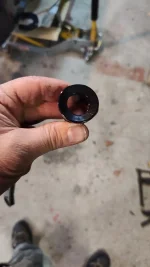
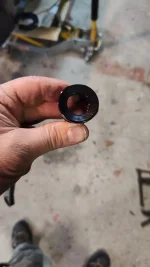
The Parking sensor glamor rings are not used in the reinstall. (more on this later)

Transfer the wiring harness to the new bumper and install the parking sensors. Wire up the fog lamps

The new brackets bolt on easily. then its just sliding the bumper up to the truck. The motorcycle jack / lift really is the way to go... very simple to push the bumper in place...

 

Attachments

  • bumper install (10).webp
    bumper install (10).webp
    177 KB · Views: 72
  • bumper install (9).webp
    bumper install (9).webp
    114.7 KB · Views: 69
  • bumper install (8).webp
    bumper install (8).webp
    57.7 KB · Views: 69
  • bumper install (7).webp
    bumper install (7).webp
    326.3 KB · Views: 71
  • bumper install (6).webp
    bumper install (6).webp
    182.9 KB · Views: 76
  • bumper install (5).webp
    bumper install (5).webp
    171.1 KB · Views: 78
  • bumper install (4).webp
    bumper install (4).webp
    215 KB · Views: 69
  • bumper install (3).webp
    bumper install (3).webp
    199.5 KB · Views: 73
  • bumper install (2).webp
    bumper install (2).webp
    194.5 KB · Views: 77
  • bumper install (1).webp
    bumper install (1).webp
    133.1 KB · Views: 72
Last edited:
Bumper install, Part one

Went pretty smoothly, on a few minor hic ups... took about 4 hours and that includes wiring the winch, driving lights, fog lights, clearance light, and a few other mods....

There is a good video for the grill and bumper removal...
Don't need to remove the passenger cover plate....

The inside OEM cover plate had theses 2 bolts on the outboard side I couldn't release but it was easy to pull back to access the harness and parking sensors.

The Parking sensor glamor rings are not used in the reinstall. (more on this later)

The new brackets bolt on easily. then its just sliding the bumper up to the truck. The motorcycle jack / lift really is the way to go... very simple to push the bumper in place...
Looking good (y)
 

Part two.

Once the two upper bolts are started, its easy to adjust up and down with the lift and pull it side to side... Once its positioned, install and tighten the remaining bolts.
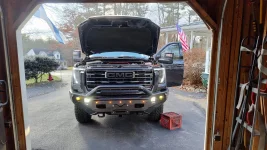
Trim the lower fender liners behind the bumper... No pics but its obvious..
 

Attachments

  • bumper install (11).webp
    bumper install (11).webp
    218.8 KB · Views: 79
  • bumper install (12).webp
    bumper install (12).webp
    215.7 KB · Views: 78
  • bumper install (13).webp
    bumper install (13).webp
    215.2 KB · Views: 82
  • bumper install (15).webp
    bumper install (15).webp
    409.4 KB · Views: 87
  • bumper install (16).webp
    bumper install (16).webp
    325.7 KB · Views: 87
  • bumper install (17).webp
    bumper install (17).webp
    455.3 KB · Views: 83
  • bumper install (19).webp
    bumper install (19).webp
    348.8 KB · Views: 71
  • bumper install (20).webp
    bumper install (20).webp
    182.2 KB · Views: 74
Frustrations...
I love the Buckstop/ Trailready products, they're are super stout. I would take one over Iron cross or similar, and although Ranch hand are solid as well, I think they are ugly as sh*t with the 4" 1/2 pipe used on the front... I hit a deer at 70 MPH on my 2013 and not a flex or a scratch in the bumper.

That being said...
1. No instructions... I had to get them to send me the PDF diagram sheet and look up OEM bumper removal on line. Previously they were great about including full step by step instructions on removal and installation. The install is easy, but trying to navigate OEM removal can often be difficult....

2. Joints. previously the wings were butt joined and welded and then ground smooth...Even my last bumper 2019 had smooth joints... this one has a lap joint and looked like sh*t. My paint guy body filled it and smoothed it out... ....

3. Parking sensor. They always seem to have the most awkward mounting system... its 2 clamps that sandwich the sensor and then bolts from behind. itrs adjustable but leaves a small gap around the sensor... The OEM install are not adjustable, so why now. The don't use the glamor rings seen on the picture... I knew they changed the set up but didn't realize that the rings were not used. I'd drill out the hole larger next time and just use to OEM rings for the sensor.

4. No latch for the winch cover plate. They use to include a twist latch to keep the plate in place. they stopped sending them as of my last bumper and now this one too... Its a $5 part. come on guys...

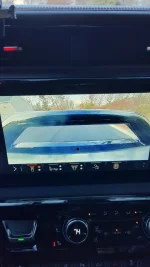
5. Front camera is barely usable... I really don't care, but this is the view. I might see if I can relocate it later..

6. Bumper not drilled for the tow hooks. I'll be following up with them on this and the welded joints.

Included a picture of the smooth joints on my last bumper
 

Attachments

  • bumper install (8).webp
    bumper install (8).webp
    57.7 KB · Views: 71
  • bumper install (21).webp
    bumper install (21).webp
    103.5 KB · Views: 62
  • bumper install (18).webp
    bumper install (18).webp
    171.7 KB · Views: 66
  • bumper install (23).webp
    bumper install (23).webp
    334.2 KB · Views: 63
  • IMG_20241119_082721132_HDR.webp
    IMG_20241119_082721132_HDR.webp
    90.2 KB · Views: 63
  • IMG_20241119_082711078 (1).webp
    IMG_20241119_082711078 (1).webp
    153 KB · Views: 69
  • Bumper 7-19 (6).webp
    Bumper 7-19 (6).webp
    281.7 KB · Views: 73
  • bumper install (9).webp
    bumper install (9).webp
    114.7 KB · Views: 64

New Posts

Most reactions

Back
Top